Archives for snacks

Carrot Pineapple Travelcakes

Ok, so I made up the word “travelcakes”… but I didn’t want to steal the name from Oh She Glows! Besides, I was baking these to take on our Redemption Trip to kayak the Colorado River, that is the travel part. The cake part? Well, they are like pancakes; portable, flat and round; not to mention have a cake-like consistency.

We liked these so much, that I baked a second, double batch the next day (recipe below). I also modified it a bit towards our taste buds – we are not huge fans of nutmeg or ginger.

Without further delay I present to you the moist, delicious, carrot pineapple travelcakes!

Carrot Pineapple Travelcakes

Carrot Pineapple Travelcakes

Makes 12 travelcakes:

2 c. spelt flour
1 tsp. baking power
1/2 tsp. sea salt
2 tsp. cinnamon
1/8 tsp. nutmeg
1/8 tsp. ginger
2 tbsp. extra virgin, unrefined coconut oil
3/4 c. maple syrup (OR 3/4 c. sweetened vanilla almond milk)
2 tsp. vanilla
Flax egg: 1 tbsp. ground flaxseed + 3 tbsp water, mixed and set aside for 5 mins
1 c. oats
2 c. shredded carrots
1/2 c. raisins (OR 1/2 c. dried tart cherries – SO GOOD, I actually prefer the cherries over the raisins)
1/3 c. chopped dried pineapple
1/2 c. chopped walnuts
Unsweetened coconut, for garnish
Preheat oven to 350°F

In a small ramekin, mix the flax egg and set aside. In a large bowl mix all of the dry ingredients together. In another bowl combine the wet ingredients (shredded carrots, vanilla, oil, maple syrup or almond milk, and flax egg). Add the wet ingredients to the dry and mix until combined, being careful not to overmix; spelt flour can be overworked. Stir in the walnuts, dried pineapple and raisins or dried tart cherries. Scoop 1/3 c. mixture onto baking sheet sprayed with oil – this made 12 for me. Sprinkle each travelcake with unsweetened coconut before placing into the oven.
Bake for 25 minutes or until edges are golden brown.

Homemade Applesauce

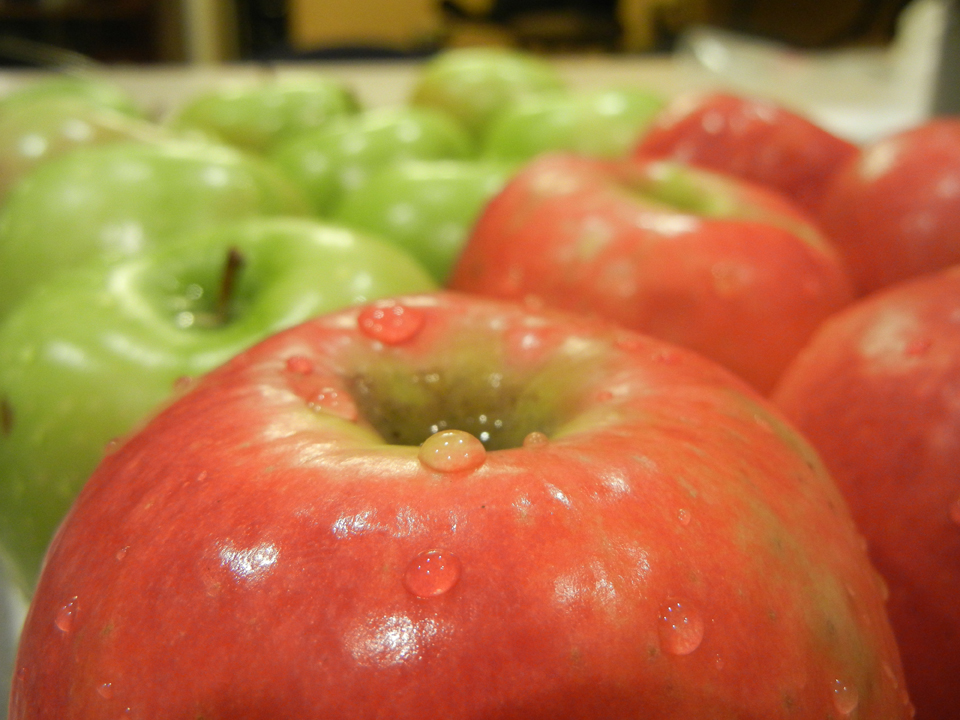
apples close-upHomemade applesauce is something you don’t appreciate until you try. Every single person’s reaction is the same when I tell them I make it from scratch, “Why don’t you just buy it?” Well, in short, because it tastes like watered down, bland mush. Homemade applesauce is so flavorful and creamy you will never go back to store-bought again. Growing up, my mom always made homemade applesauce. The whole house would smell of delicious baking apples and every burner on the stove would be used to slow cook the apples. We would have a freezer shelf dedicated to bags of frozen applesauce. It was amazing.

When I grew up and moved out of state – I craved that homemade applesauce. I called my mom and asked her how to do it, and where to get that upside-down pyramid thingy with the holes in it. I never knew what it was called, and neither did she, until I posted this recipe 4 years ago and got a comment from a reader! It is called a chinois, and you can order it on Amazon. Not knowing the name originally, it was a stroke of luck I found the one I did 15 years ago. It was tucked on the top shelf of a kitchen gadget store at the mall, covered in a layer of dust. I’m not even sure the clerk knew they sold it, but it was EXACTLY what I was looking for and the exact tool my mom used growing up.

Beautiful Homemade Applesauce

Beautiful Homemade Applesauce

Literally, the ONLY ingredients in my version of homemade applesauce is apples and a tablespoon of water. I’ve experimented with a variety of apples over the years and the best flavor is a half and half mixture of Granny Smith and a sweet, red-skinned apple. I usually buy whatever looks best or if I know the grocery store has received a good batch, based on ones I’ve recently purchased. For the recipe pictured below, we used 12 Granny Smith and 12 Pink Lady. Be sure to buy organic apples whenever you buy or eat apples, since they are one of the most pesticide ridden fruits on the shelves.

Ingredients

12 organic granny smith apples, washed, cored and sliced into 6 pieces
12 organic pink lady apples, washed, cored and sliced into 6 pieces
A little water

You will also need:
An apple corer/slicer
A chinois

Instructions

Wash all the apples very thoroughly and remove all stickers. Use an apple slicer to simultaneously remove core and cut apples. Toss into a large stock pot until full. Add 1-2 tablespoons of water and cook on low-med heat, covered for approximately 3 hours. I set a kitchen timer for 20 minutes and stir every 20 minutes to prevent scorching or burning on the bottom. About an hour or so into cooking, you will want to turn the heat down to the lowest setting. If you find that the apples aren’t producing much condensation or juice, you can add another tablespoon of water to speed the process along. Be sure not to add too much water, because you want the apples and juice to produce a flavorful sauce.

Once the apples are extremely mushy and the skins are falling off the pulp, they are ready to rice. I use one large stock pot as the ricer pot and one large stock pot as the mushy apple pot. Simply scoop the mushy mixture into the ricer and push through the tiny holes to remove the bulk of the pulp and all of the skins. That’s it!!

Homemade applesauce freezes great! I’ve also canned it for the pantry successfully too. It’s great to use in baking as a replacement to butter, oil or eggs and great as a snack or side dish. You can add a little cinnamon and/or nutmeg to yours if you’d like. Enjoy nature’s natural dessert!

This slideshow requires JavaScript.